Most imaging options in Deployment Solution 7.5 require very little direct intervention with client machines, instead being managed remotely via PXE or Automation Folders. In some cases a Deployment Solution user may need to use physical boot media for a machine. This article focuses on making stand-alone boot media, primarily for using Ghost tools. These are the steps for creating a Stand-alone Boot Disk.
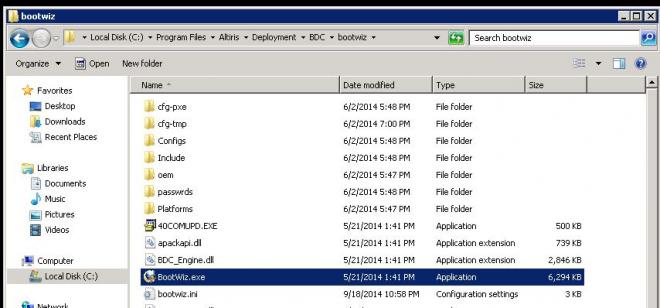
1. Open the BootWiz.exe application. It can be found in \Program Files\Altiris\Deployment\BDC\Bootwiz.
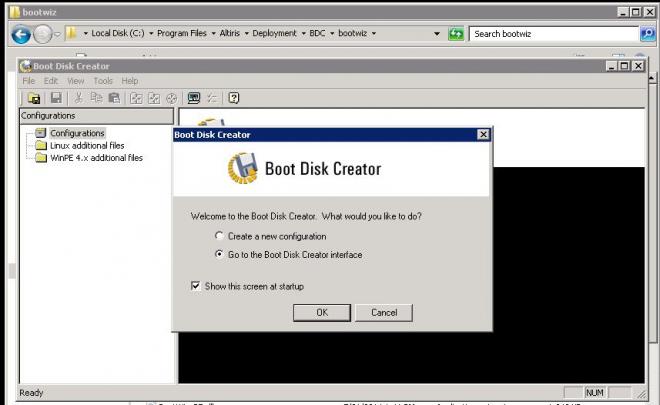
2. Once it launches, click the radio button for "Go to the Boot Disk Creator interface" and then click OK.
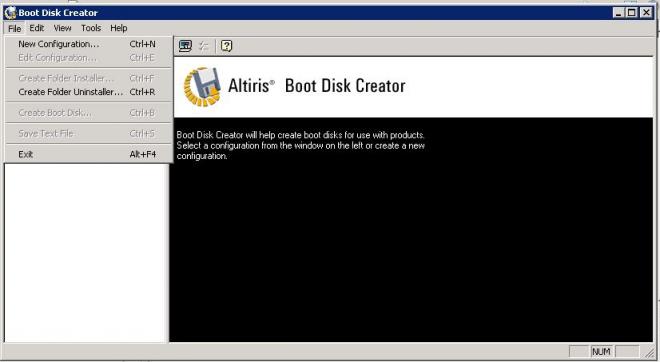
3. Choose File > New Configuration.
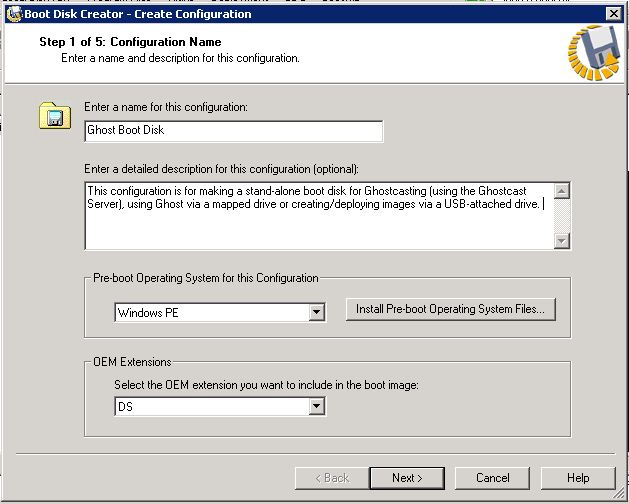
4. On the screen "Step 1 of 5: Configuration Name", provide a name (and description, if you wish) and select "Windows PE" from the drop-down for "Pre-boot Operating System for this Configuration" menu. Then click Next.
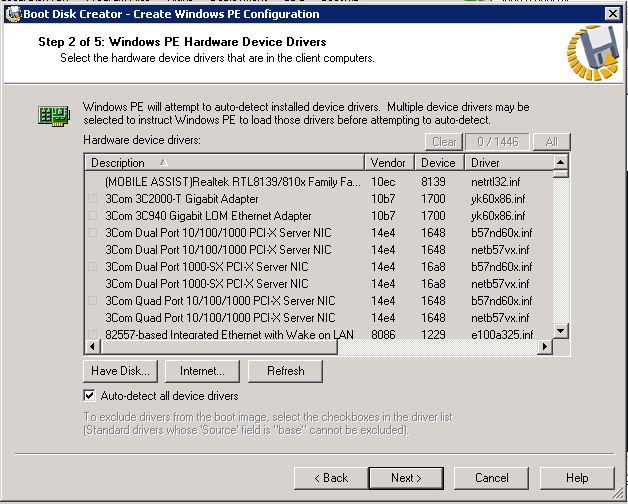
5.On the screen "Step 2 of 5: Windows PE Hardware Device Drivers", click Next.
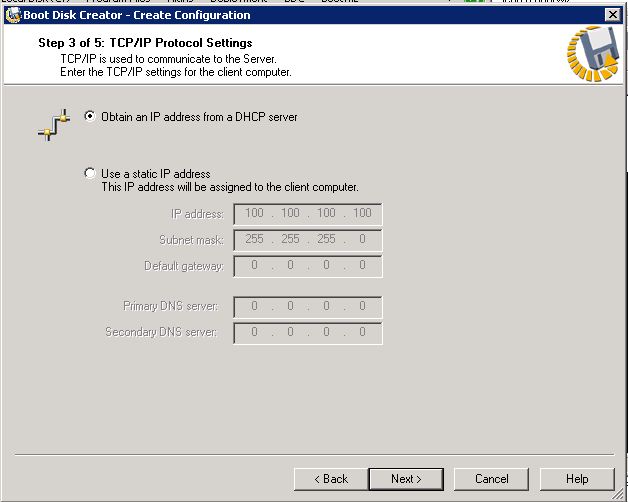
6. On the screen "Step 3 of 5: TCP/IP Protocol Settings", click Next.
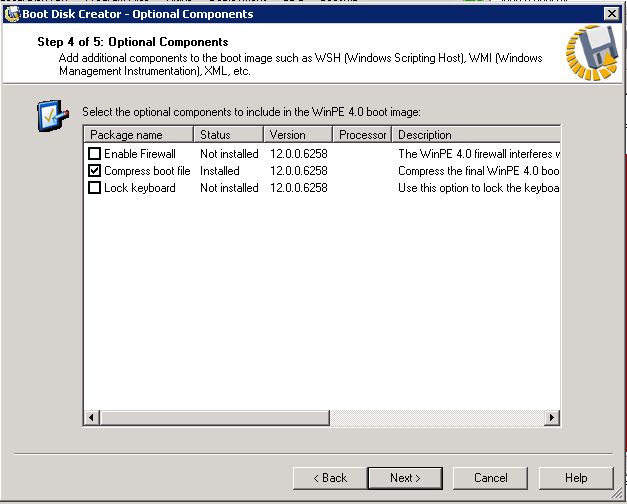
7. On the screen "Step 4 of 5: Optional Components", click Next.
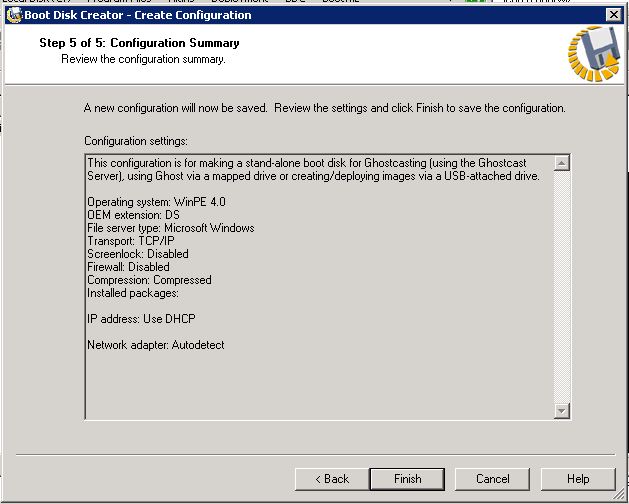
8. On the screen "Step 5 of 5: Configuration Summary", click Finish.
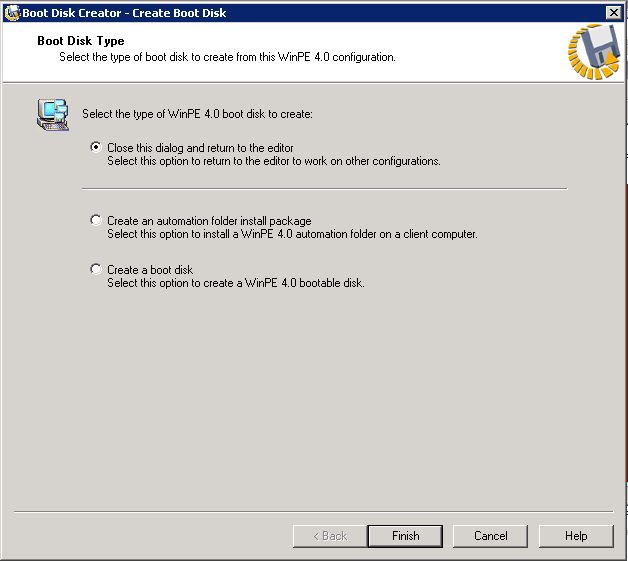
9. This will launch the "Create Boot Disk" window. Select the radio button "Close this dialog and return to the editor". Then click Finish.
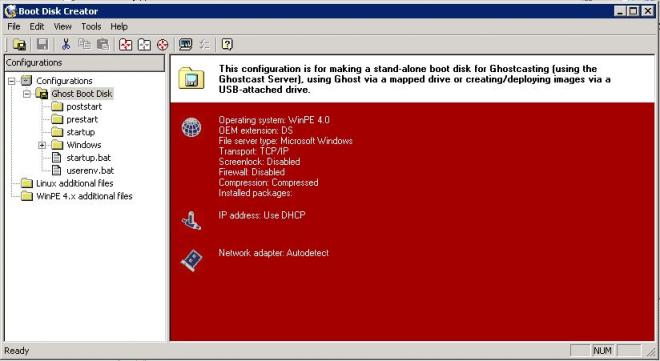
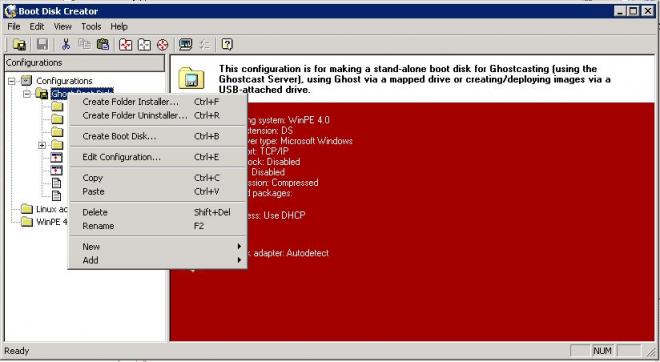
10. You will now be back at the Boot Disk Creator Window, and the configuration you made will be visible in the left under "Configurations".
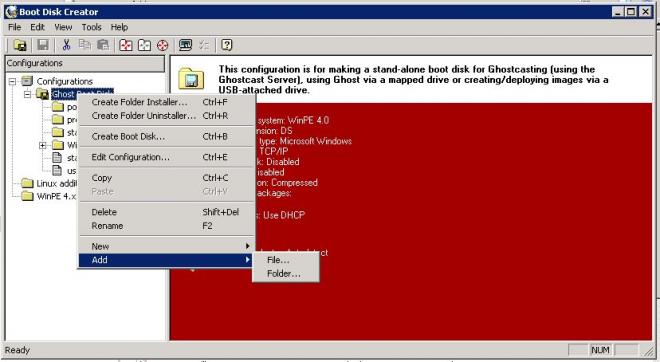
11. Right-click on your new configuration, choose Add > File.
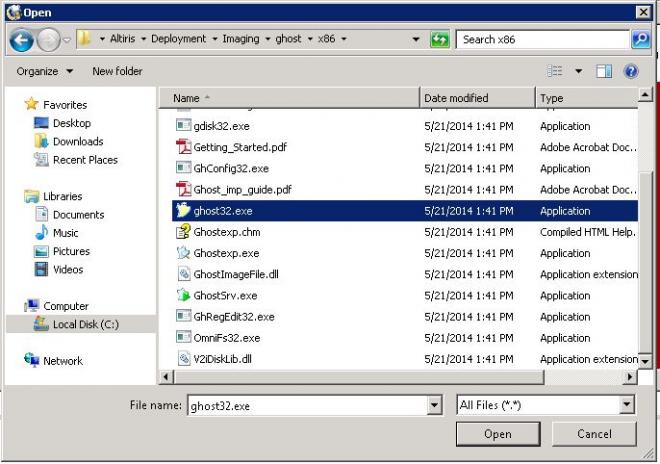
12. Browse to \Program Files\Altiris\Deployment\Imaging\ghost\x86, select Ghost32.exe and click Open.
13. Repeat step 11, then browse to \Program Files\Altiris\Deployment\Imaging\ghost\x64, select Ghost64.exe and click Open.
14. Right-click your configuration, then click Create Boot Disk.
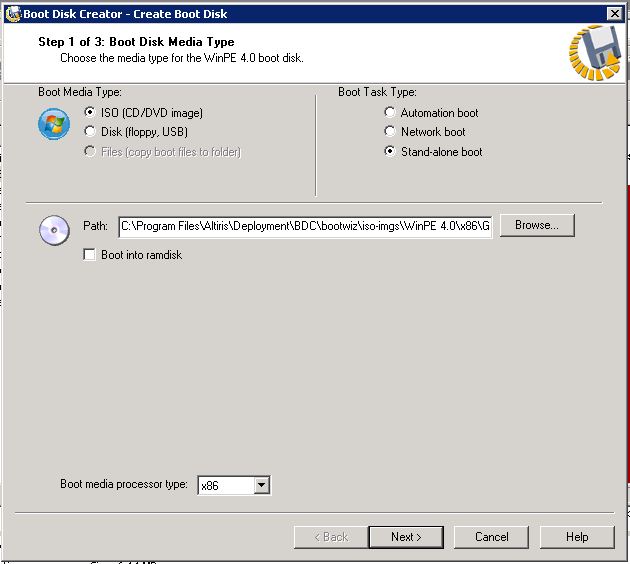
15. On the page "Step 1 of 3:Boot Disk Media Type", choose either ISO (for CD/DVD media) or Disk (for USB flash drive boot media) for Boot Media Type. Then choose Stand-alone boot for "Boot Task Type". If you chose ISO, specify the location and name. If you chose Disk, select your flash drive from the drop-down list. Then click Next.
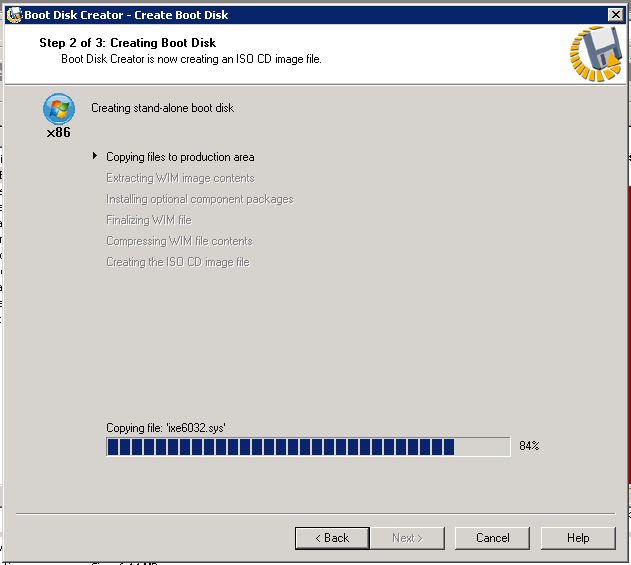
16. The page "Step 2 of 3" is a progress page and will automatically move to the next page without user intervention once it completes.
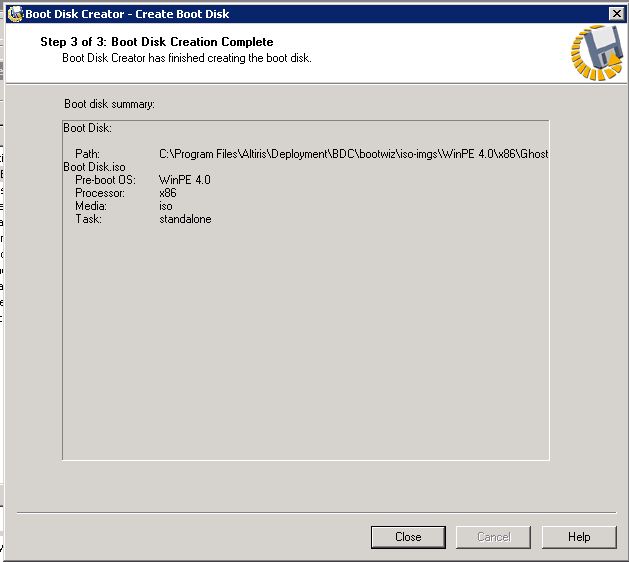
17. Click Close on page "Step 3 of 3".
18. If you wrote directly to a flash drive, you are now finished. If you created an ISO file, it will need to be burned to a CD, DVD or USB flash drive. On a machine with a CD/DVD burner, you should be able to right-click the ISO file and choose "Burn disc image".
You now have a stand-alone boot disc with Ghost. The following articles detail how to use this boot media: