For Each Element in Collection
Component definition
This component takes individual elements from an array variable and handles them one at a time. The For Each Element in Collection component is particularly helpful when arrays of data elements are run through sets of rules or other process components.
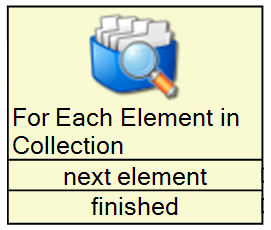
Component icon
The following screen shot shows the Number Range Rule component icon:
Description of component output paths
Unknown
The component output paths are described in the following table:
Property |
Description |
|
next element
|
Connect to a component (or chain of components) that contains operations you want to perform on each entry in your collection.
The component (or chain of components) that you connect to should then connect back to this component.
|
|
finished
|
Connect to the next component in your workflow after this component has finished iterating through your collection.
|
|
first element
|
If you select to show the first and last paths, this option appears. You can connect to a component (or chain of components) that contains operations you want to perform on the first element in your collection.
The component (or chain of components) that you connect to should then connect back to this component.
|
|
last element
|
If you select to show the first and last paths, this option appears. You can connect to a component (or chain of components) that contains operations you want to perform on the last element in your collection.
The component (or chain of components) that you connect to should then connect back to this component.
|
Description of component tabs and their properties
The properties on the Configuration tab in the For Each Element in Collection component are listed and described in the following table:
The properties on the Settings tab in the For Each Element in Collection component are listed and described in the following table:
Connection information
Not applicable
Component settings
Unknown
Use cases
An example for the For Each Element in Collection component is as follows:
Personalized email
Scenario: Employees appreciate having one day's notice for an upcoming annual performance review. To help the employee remember and prepare for the review, a reminder email is sent the day before the meeting.
Process: This process is created in a Monitoring Project type.
The following screen shot shows the process:
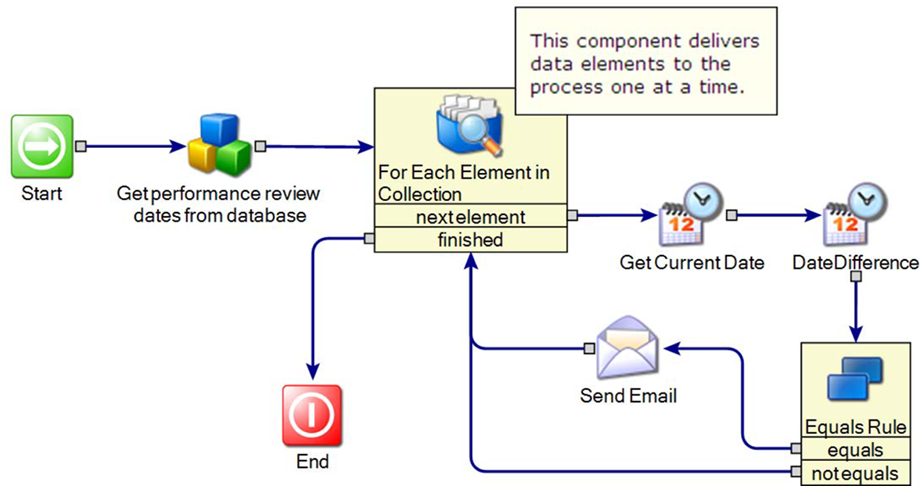
The process starts with a custom integration component. This component is created with the integration engine.
For more information on using the integration engine, see the Workflow Solution Administrator's Guide.
www.altiris.com/support/documentation.aspx
The custom component retrieves all of the assigned dates for each employee's annual performance review. It passes this data to the For Each Element in Collection component.
The For Each Element in Collection component takes the collection of dates and hands them to the rest of the process one at a time. When the final date has been evaluated, the "finished" output path ends the process.
The Get Current Date component retrieves the current date and adds it to the process as a variable called CurrentDate.
The Date Difference component takes this variable and subtracts it from the performance review date called OneReviewDate. The difference becomes an output variable called DaysUntilReview.
The Equals Rule component compares the variable DateDiff with the number 1. If the two numbers match, the component uses the "equals" output path. If not, the component uses the "not equals" path, which returns the workflow to the For Each Element in Collection component for another date variable.
If the numbers do match, that means the date of the meeting is one day away. A Send Email component sends an email to the employee with notification of the meeting.
Other components in this example are as follows:
-
Custom component
This component was created with the integration engine.
For more information on using the integration engine, see the Workflow Solution Administrator's Guide.
www.altiris.com/support/documentation.aspx
Date Difference
Get Current Date
Equals Rule
Send Email