Ghost Solution Suite 3.1 is a very versatile suite that offers a great number of tools for imaging administrators. Thos who have upgraded from previous versions of Ghost (Ghost Solution Suite 2 or 2.5)may have enjoyed a setup that allowed them to PXE boot (using 3COM Boot Services, for instance) in such a way that the booted machione automatically joined a specific, named Ghostcast Server session. This article will first show how to create that boot image, then how to use the Ghostcast Server with this setup.
Part I: The PXE Boot Image
This part will detail the creation of a PXE Boot image that automatically joins clients to a ready and waiting Ghostcast Server session name "Alpha".
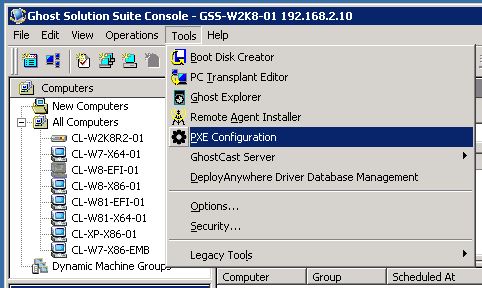
1. Open the Ghost Console. Then click on Tools > PXE Configuration.
2. The PXE Configuration Utility will launch. Click File > Choose PXE Server.
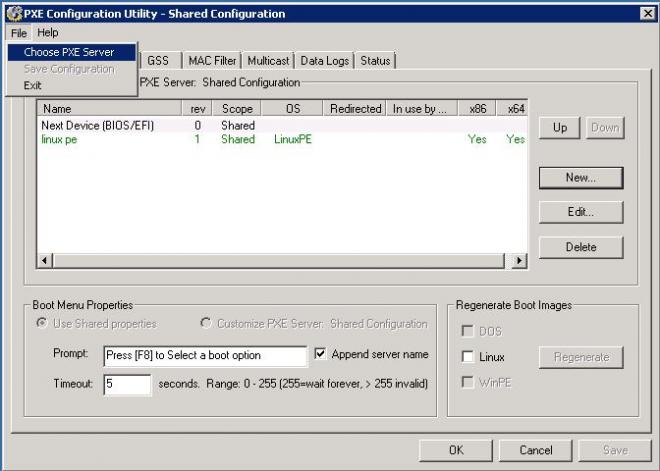
3. Choose your server's name from the list; Shared Configuration must NOT be chosen. Click Open.

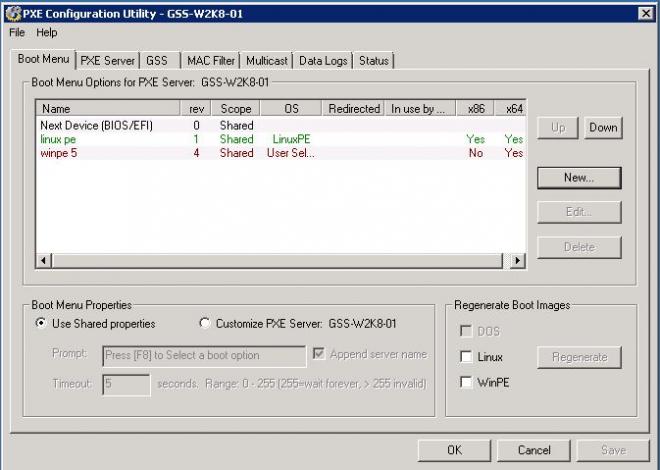
4. Click "New...".
5. A windows called New Server Specific Menu Option will launch. Give it a name, and then select the options as seen in the image below (WinPE, x64 only, Boot Disk Creator).Then click Create Boot Image.

Note: This article assumes the use of a 64bit boot environment. Scripting we use later will assume 64bit is selected. Additionally, I have named the boot image based on the intended name of the Ghostcast Session, in this case "Alpha". You may replace this with whatever name you wish.
6. When the Boot Wizard launches, it will show Step 1 of 12: Configuration Name. Click Next.

7. Click Next on Step 2 of 12: Windows PE Hardware Device Drivers.

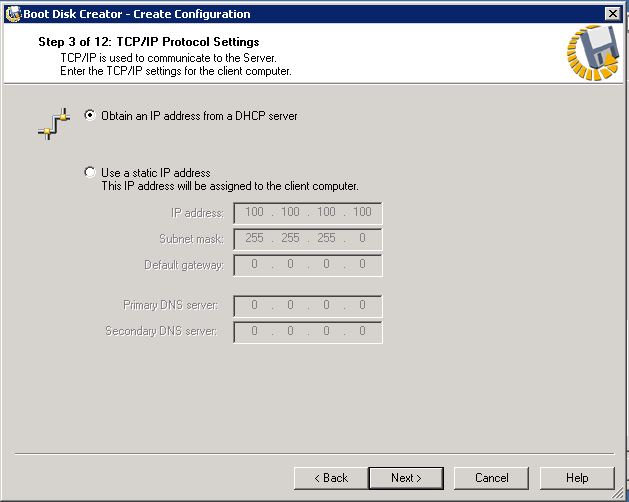
8. Click Next on Step 3 of 12: TCP/IP Protocol Settings.
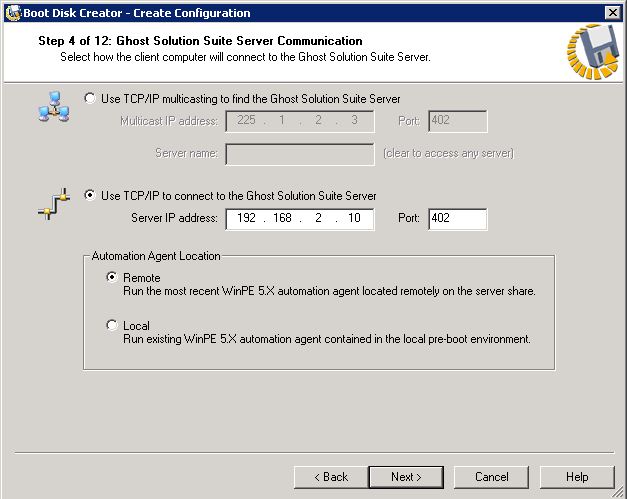
9. Click Next on Step 4 of 12: Ghost Solution Suite Server Communication.
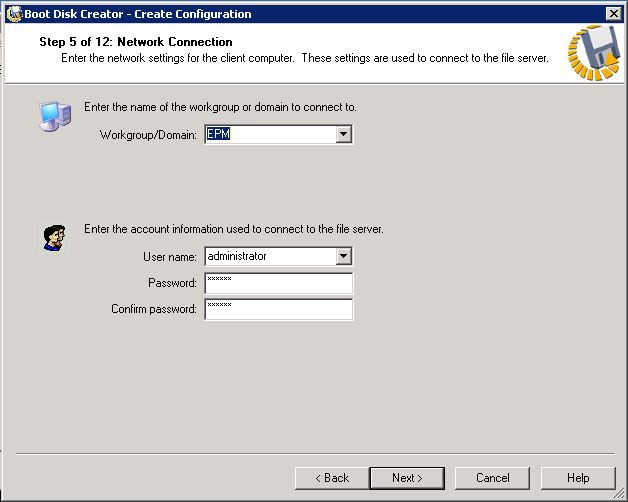
10. Click Next on Step 5 of 12: Network Connection.
11. On Step 6 of 12: Network Drive Mappings, uncheck "Create an entry in the LMHOSTS file...". Then click Next.
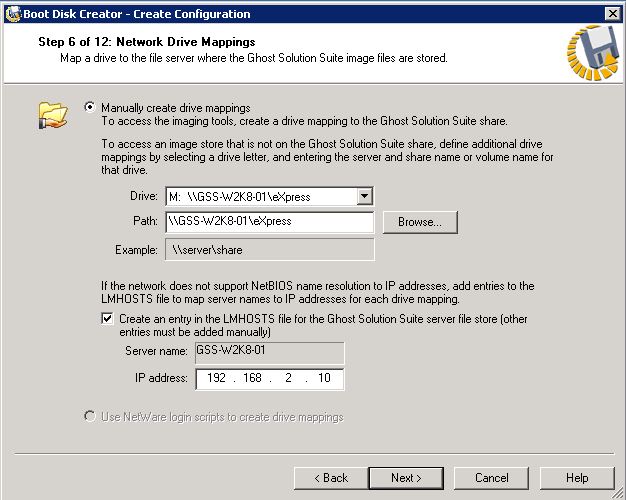
Note: If you use mapped drives for imaging, you may define drive mappings here. More on this process here.
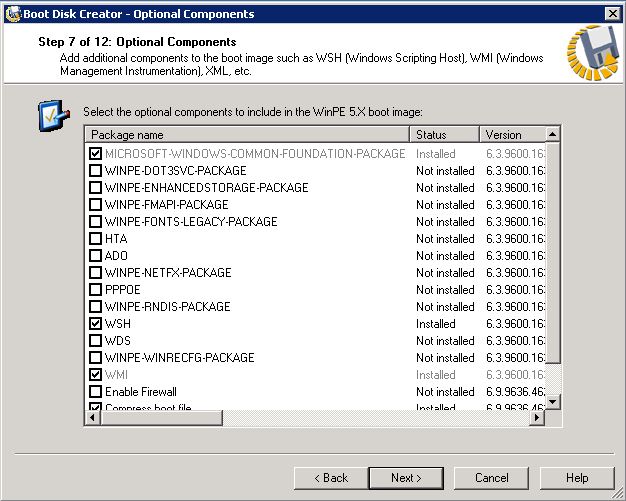
12. Click Next on Step 7 of 12: Optional Components.
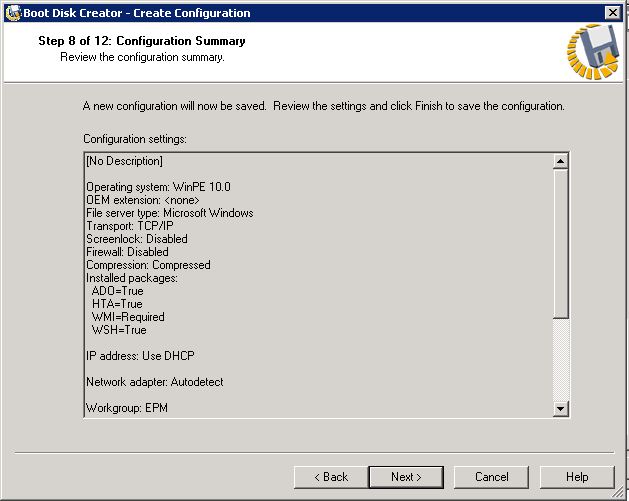
13. Click Next on Step 8 of 12: Configuration Summary. This will launch the Boot Disk Creator.
14. On Step 9 of 12: Edit Configuration, click on startup.bat. In the right pane, the text of this file will be editable. Under :UserActions on a new line, type the following (as shown in the image below):
m:
cd ghost
ghost64.exe -ib -ja=alpha -sure

Note: The command line above uses the default drive mapping of M for the deployment share (version of Ghost Solution Suite HF2 or later will use M:). This changes the directory to Ghost and uses the Ghost64.exe in that folder (which will always be the latest version of the executable). The command line switch -ib is added that collects the boot track as part of the image, commonly needed for imaging operations. The command line switch -ja=alpha is the scripting that tells Ghost to automatically connect to a Ghostcast session called "alpha"; if you choose a different name for the Ghostcast session, change "alpha' to your session name. The final command line switch, -sure, eliminates user intervention on the client.
15. On Step 10 of 12: Boot Disk Media Type, click the option Network Boot. Click Next.
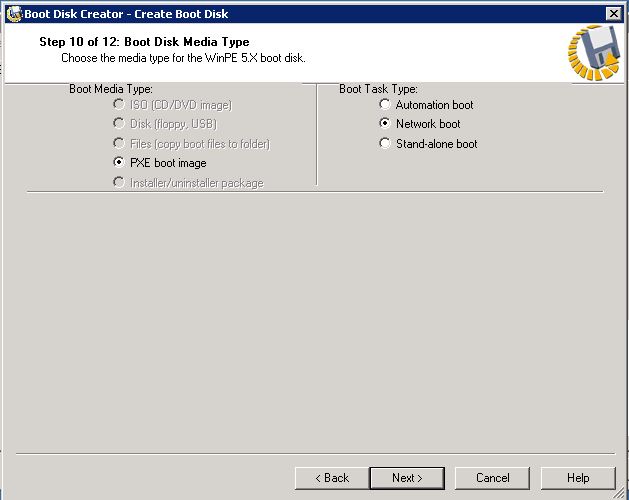
Note: If the only option present is 'Automation Boot', this means that steps 2 & 3 were not followed. 'Network Boot' is only an option on server-specific PXE configurations.
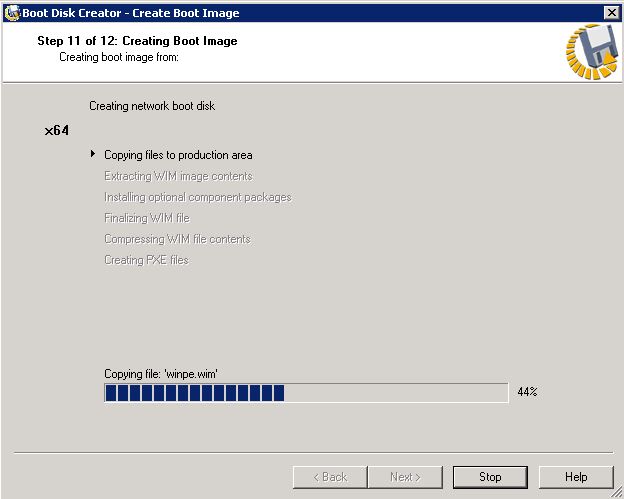
16. Step 11 of 12: Creating Boot Image will show the progress on the creation of the boot image. This process will take several minutes.
17. After the boot image creation finishes, it will launch Step 12 of 12: Boot Disk Creation Complete. Click Finish.

18. Click OK on the New Shared Menu Option window.

19. Click Save on the PXE Configuration Utility.

This will create a PXE boot image that automatically joins a client to a ready and waiting Ghostcast Server session. If this is your intent, you may stop here. Part II tells how to set up the Ghostcast Server session that this will use.
Part II: Setting Up The Ghostcast Server
1. Launch the Ghostcast Server. The default location for this in a Ghost Solution Suite 3.1 installation is C:\Program Files (x86)\Altiris\Deployment Server\Ghost\GhostSrv.exe.

2. Provide the name for the Ghostcast Server session, Alpha (or whatever you specified in Step 14 with the -ja=sessionname switch).

3. Specify the options for your Ghostcast operation:
A. Image Create: Click the radio button "Create Image", browse to where you would like to store the image and provide a filename. Click "Accept Clients". Booting to the named Ghostcast Server session will connect it to this session.
B. Restore Image: Click the radio button "Restore Image", browse to the existing image to deploy. Click "Accept Clients". Booting to the named Ghostcast Server session will connect it to this session. After all clients have joined, click "Send".
That is how you set up a PXE boot image in Ghost Solution Suite 3.1 that automatically joins a named Ghostcast Server session.