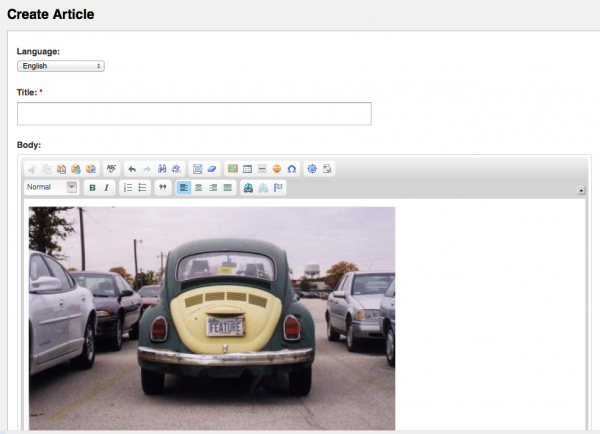
If you've ever tried to add an image to a post on Connect you know it can be frustrating if you are forced to muddle through on your own. This article is meant to guide you through the process and, hopefully, make it a little easier. If you've ever inserted an image into the body of a gmail message then this will look a little familiar to you. So settle in and follow along. If you find this helpful you may want to bookmark this page until inserting images becomes second nature - and you start doing demos yourself...
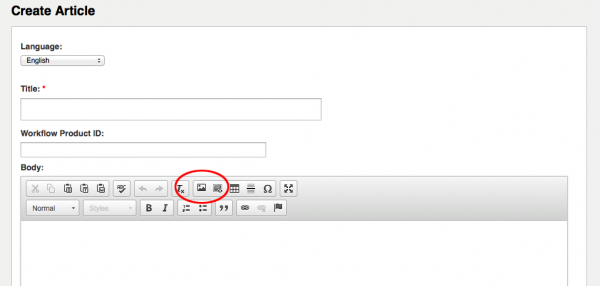
Step 1 - Click the "Insert Image" icon - it's tiny but you can see it's a little picture of mountains with a sun
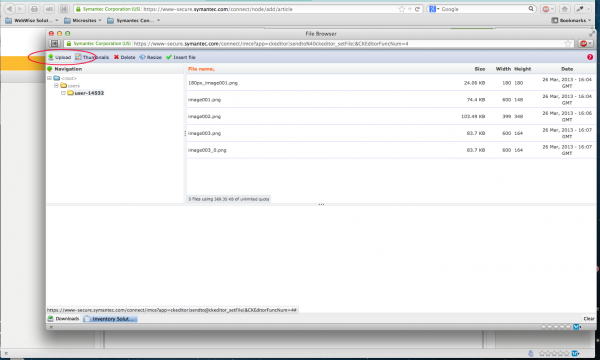
Step 2 - The Flie Browser window will open - click "Upload"
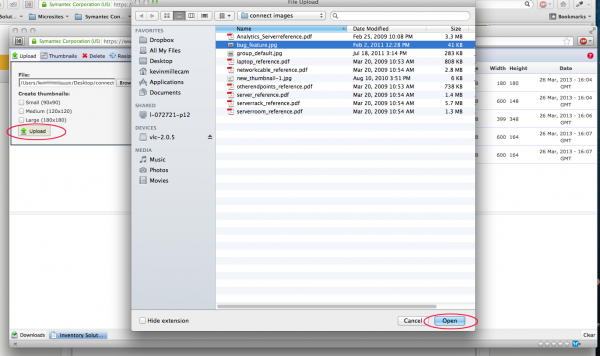
Step 3 - Browse to the file on your computer and choose "Open" and then "Upload"
If you wish to create thumbnall sized images at this time you can also select an alternate size by selection any one of the thumbnail sizes before clicking "Upload" - this will automatically create thumbnail sized images.


Step 4 - Now that your image has been successfully been uploaded you can manually resize it if you desire - remember that any image wider than 600px will run off the Connect page.
To manually resize your image, highlight your image and click "Resize". In the dialog box enter the desired dimensions - you can either make a copy of the original image or apply the new size directly to it - and click "Resize"

Step 5 - Finally, highlight the image you want to insert into your post and click "insert" and voila! you're done!
Step 6 - World domination... of course!
Special Notes
Your can save on your upload limit by resuing an image when applicable. Simply insert the curser in your article (or blog or download, you get the idea) find the image you wish to use again in your image list and click the name and that will add it to your post.

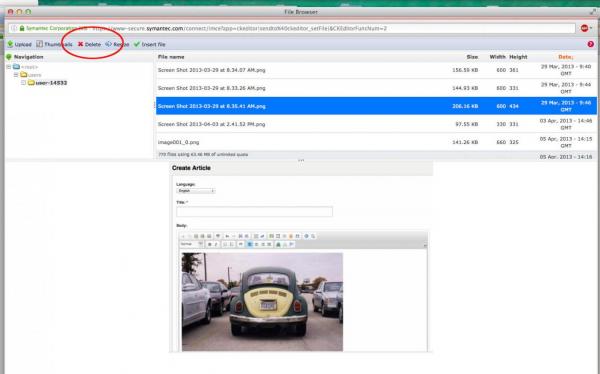
Additionally you can delete images as well - just highlight the name of the image you wish to delete and click the red X in the dialog box.
NOTE: Make sure it's not an image being used in any of your posts or it will show up as a broken link in that post.