Before we begin, I would like to let the reader know that the product for standalone drive encryption installations is Symantec Encryption Desktop. This guide is intended for managed environments already using Symantec Endpoint Encryption who have a need for a small number of standalone clients that are outside of their domain or for hardware testing. If you have the need for a small number of unmanaged systems (no management server) that need to be encrypted, I would recommend contacting Symantec Customer Care and getting Symantec Encryption Desktop instead for drive encryption. This process, though supported in version 8.2.1, is not supported with SEE v11. Use at your own risk.
For this article, I will be walking through the entire process using Windows 8.1. The only major difference is that on Windows 8/8.1, you have a different way to install the required .NET Framework versions. Windows 7 users can skip to step 6, but will need to make sure they have .NET Framework 3.5 and 4.5 installed before they begin. Both versions can be found here:
http://www.microsoft.com/net/download/earlier-versions
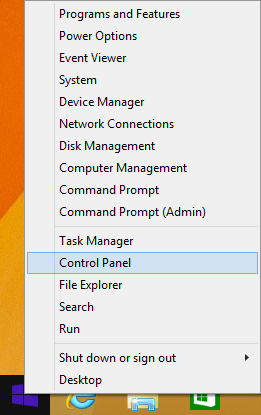
1. Start at the Desktop. Right click the Windows button and select Control Panel.
2. Select “Programs”.

3. Select “Turn Windows features on or off”.

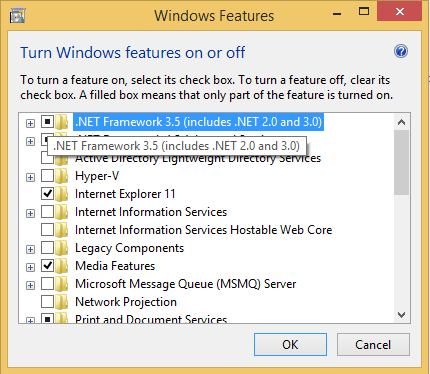
4. Check the box next to “.NET Framework 3.5 (includes .NET 2.0 and 3.0)” and select “OK”. Windows will search for the files.

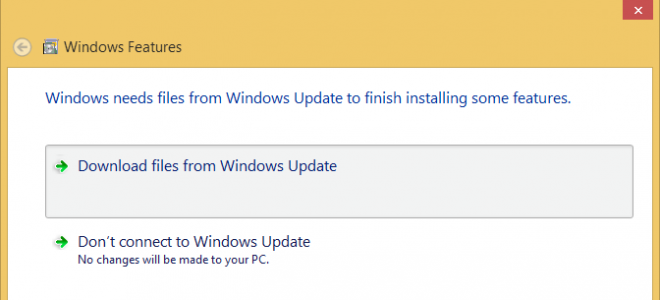
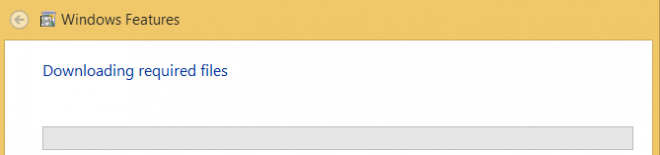
5. Select “Download files from Windows Update”. Windows will begin downloading the files, and install them.
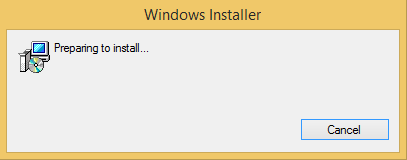
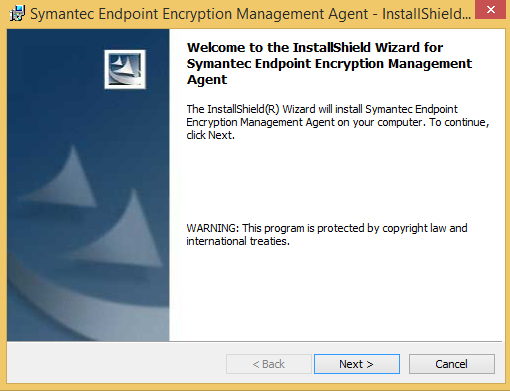
6. Double-click the SEE Management Agent msi file. The management agent will begin installation.
7. Click “Next”.
8. Click “Next” again.

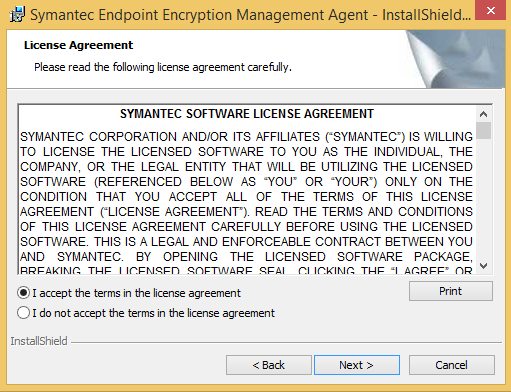
9. Read the license agreement. If you accept the terms of the agreement, select “I accept…” and click “Next”.
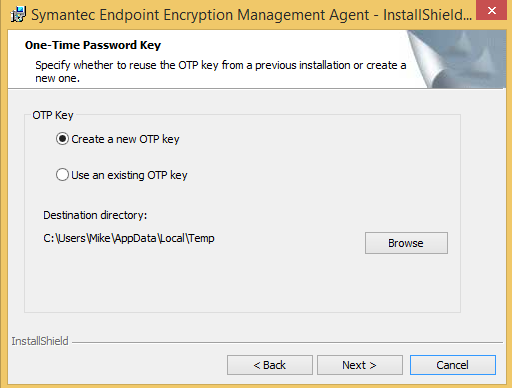
10. Select “None (password authentication only)”, and click “Next”.

11. Click “Next” to accept the default location, or modify it as desired before clicking “Next”.

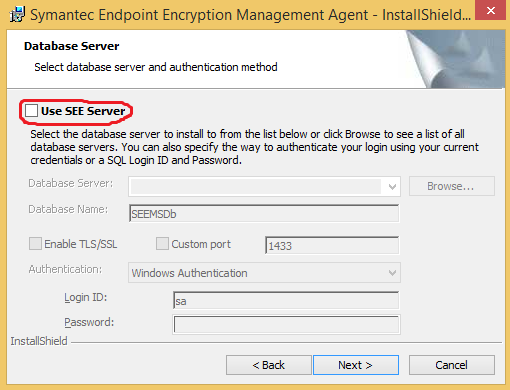
12. Uncheck the box for “Use SEE Server” and click “Next”.
13. Click “Next” again.
14. Select a management password. This password will only be needed to uninstall the product if needed at a later time. Click “Next”.

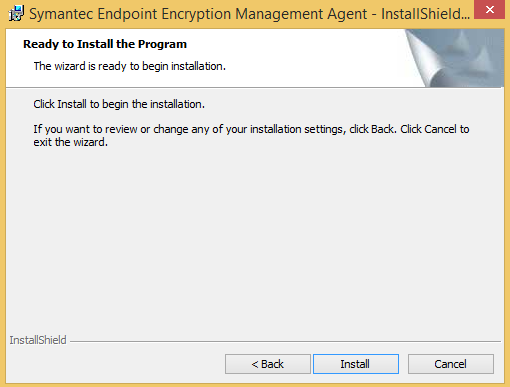
15. If you are satisfied with your settings thus far, click “Install”.

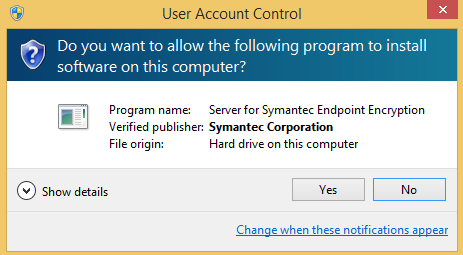
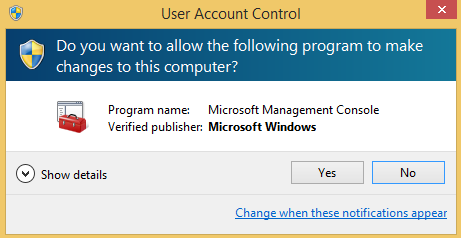
16. If prompted by User Account Control, make sure the information looks correct by comparing it to the screenshot below (program name, publisher), and select “Yes”. It should finish installing without additional input.
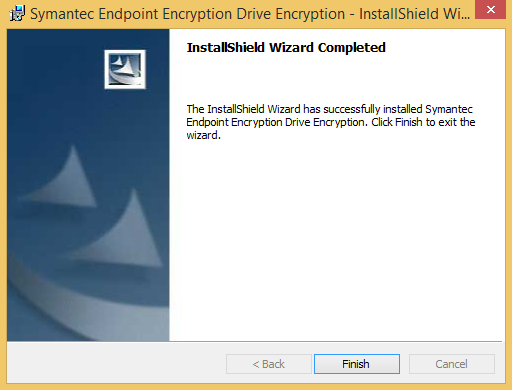
17. Click “Finish”

18. Double click the SEE Drive Encryption installer.

19. Select “Next”

20. Read the license agreement. If you accept the terms of the agreement, select “I accept…” and click “Next”.

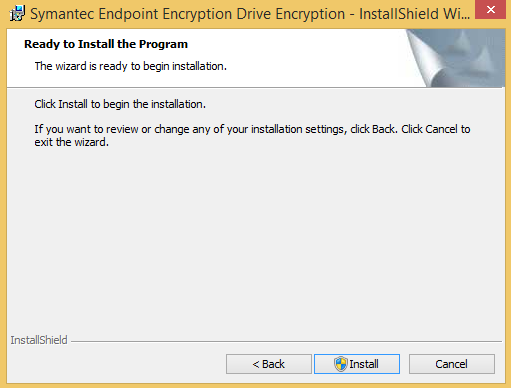
21. Click “Install”.
22. If prompted by User Account Control, make sure the information looks correct by comparing it to the screenshot below (program name, publisher), and select “Yes”. It should finish installing without additional input.

23. Click “Finish”.
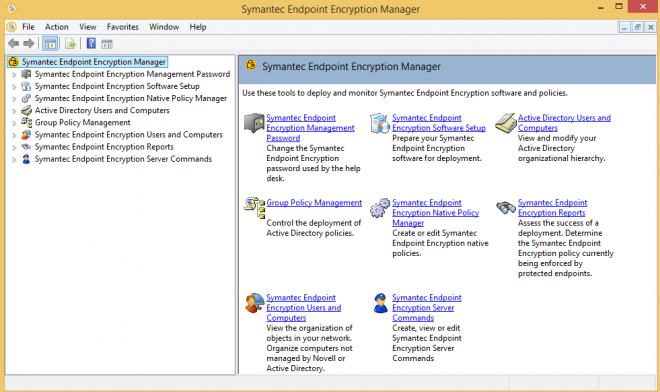
24. Click the Windows button in the bottom left. Then click the search icon in the top right, and start typing in “Symantec Endpoint Encryption Manager”. It should auto-fill and show the program. Click the program in the list to open it.

25. If prompted by User access Control, click “Yes”. The management console will open.
26. Expand “Symantec Endpoint Encryption Software Setup”, and click “Management Agent”.


27. Note that “Password Attempts” references Drive Encryption only, while “Password Complexity” is for Removable Media only. Drive Encryption passwords will be the same as the Windows login password, and complexity will be handled by Windows settings. Apply any changes you wish, and click “Finish”. You will be prompted to save the package, and it will automatically generate both 32- and 64-bit client packages.

28. In the Management Console, select “Drive Encryption”. Under the first page, Client Administrators, select “Add”.
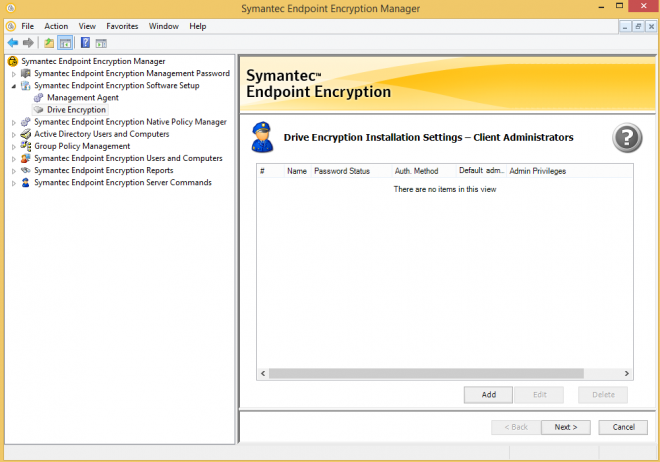
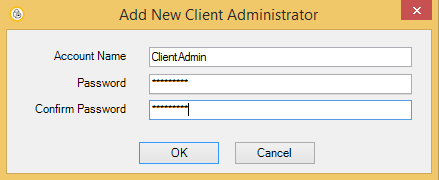
29. Enter a Client Administrator credential. This is an account that should be able to get past pre-boot authentication in the event that your user account does not work for some reason, or you have forgotten the passphrase. You can add as many of these accounts as you wish, but there must be at least one to continue. After adding the username and password for the account, click “OK”.
30. When you have entered the Client Admins that you want, click “Next”.

31. On the next screen, select “Next”.
32. Select whether or not to use Recovery Questions for self-recovery if you are locked out or have forgotten your password. You can define the questions now, or define them when the packages are installed. For ease of use at this point, I elected not to predefine them. Click “Next”.

33. The login screen can be modified, but that is a process for another day. For my purposes here, leave the default selected, and click “Next”.

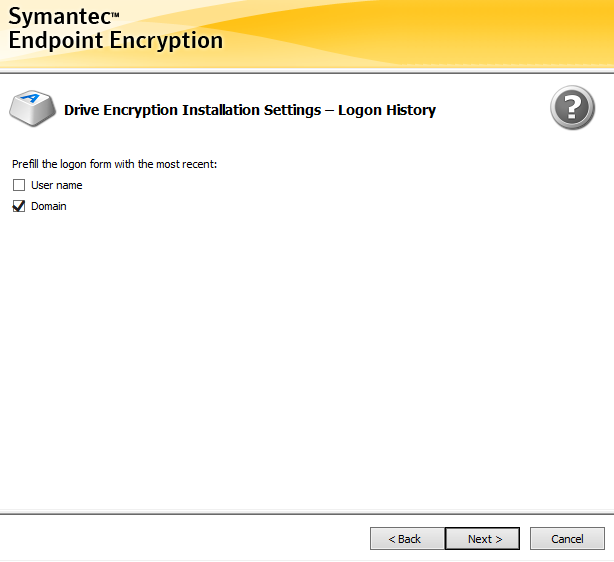
34. I recommend leaving the defaults for security, but you can choose to have it also remember the last Username. Click “Next”.
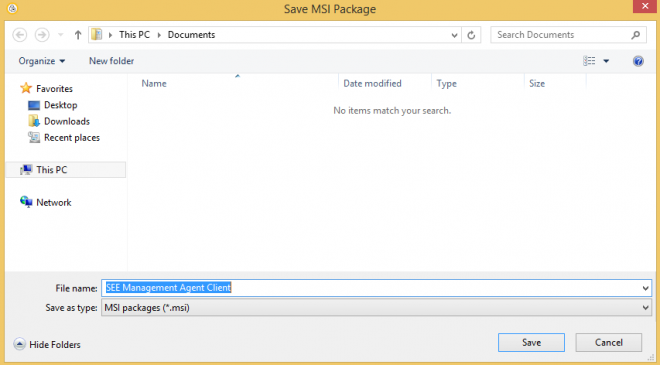
35. You can select 128- or 256-bit encryption. Make sure it is set on 256, and click “Next”.

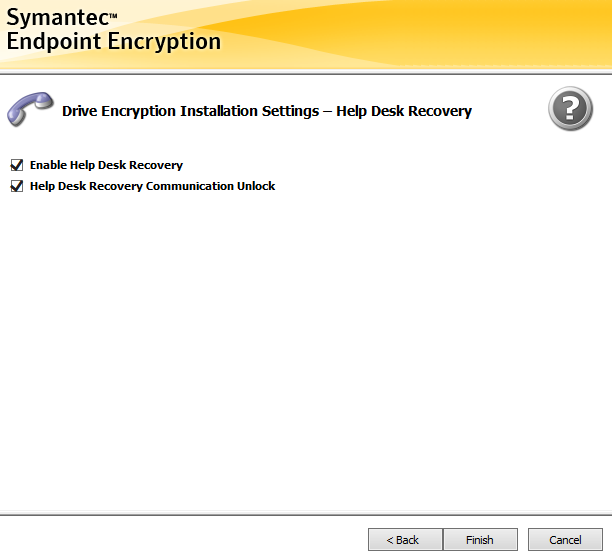
36. Help Desk is not something that a standalone would really use, but if you were to install on a few systems, you could potentially deploy it to another system. It will be absolutely useless for a single system, as you would need access to the system to use it, and you would only need to use it when you have no access to the system. Leaving it checked for a standalone installation will not have any negative effects, but you can uncheck it if you wish. Click “Finish”.
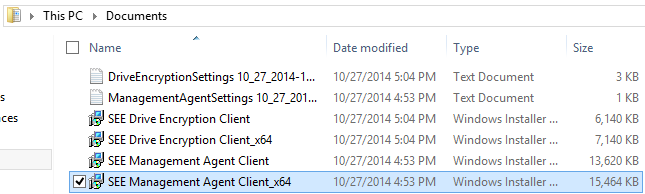
37. You will be prompted to save the packages. Find the location where you want to save them, and select “Save”.


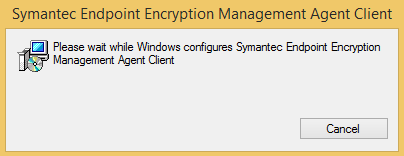
38. Now that we have our packages, we will install them. First, select the SEE Management Agent created in the above steps. 64-bit systems should select the package with x64 at the end of the name. Double click the installer.
39. If prompted by User access Control, click “Yes”. The publisher will be “Unknown”, as it was generated on your system.

40. Installation will proceed and finish without more input. After installation completes, it will prompt you for a reboot. For this first reboot, select “No”.

41. Double click the SEE Drive Encryption Client package. Like the Management Agent, 64-bit systems should select the package with x64 at the end of the name. Double click the installer.

42. If prompted by User access Control, click “Yes”. The publisher will be “Unknown”, as it was generated on your system.

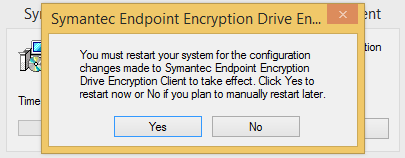
43. The Drive Encryption will install without further input. This time, when asked to reboot, select “Yes”.

44. After the system reboots, you will be prompted to configure self-recovery. Select “Continue”.

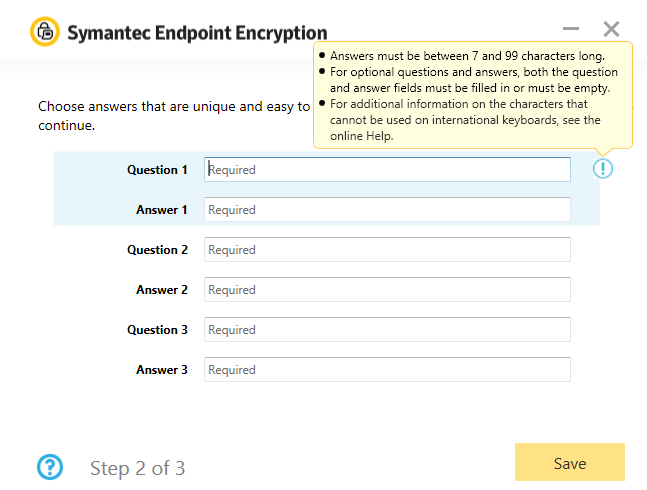
45. Fill out the recovery questions and answers, and select “Save”.
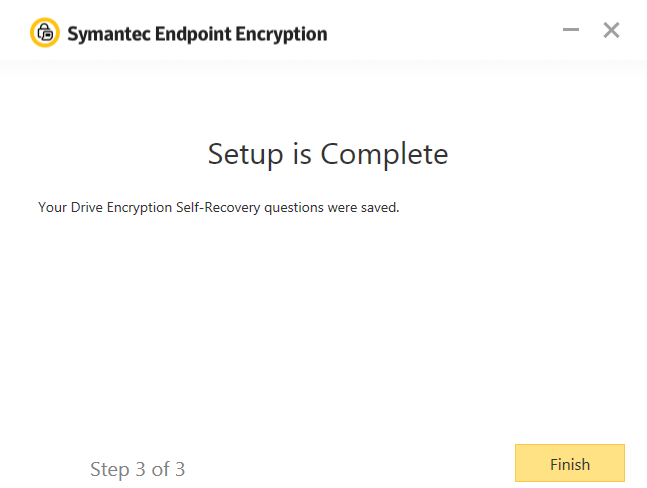
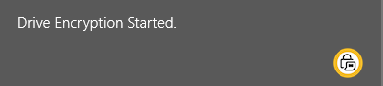
46. Select “Finish”. Drive Encryption will begin, and you should be able to use the computer as normal.
At this time, you should create a recovery disk following the article below:
http://www.symantec.com/docs/TECH223783
Some additional Drive Encryption troubleshooting steps can be found here:
http://www.symantec.com/docs/TECH224777
The SEE v11 documentation page is here for your reference as well:
http://www.symantec.com/docs/HOWTO101978