I have seen several requests on the Connect site, where customers are attempting to save a particular report to a CSV file in an automated fashion. There are published ways to automate reports to be sent via email as HTML, or as plain text, but not as an actual CSV file.
However, one of my customers has a requirement to have his asset report saved as a CSV file to a network location, or be emailed to him as a CSV attachment to be placed on a network share. This data needs to be viewed by people that do not need access to the actual report. There is no way to do this from the Jobs, Tasks, and Automation Policies area.
I developed a way to fulfill this request by using the Connector Solution instead.
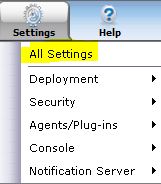
1. Go to your SMP management console, and select "Settings\All Settings"
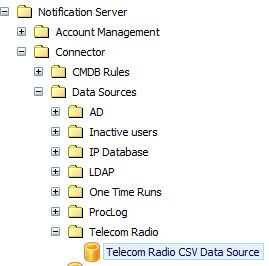
2. Browse to the Connector area, and create a new Data Source, which will end up being your CSV file:
3. Configure the new data source to your requirements:
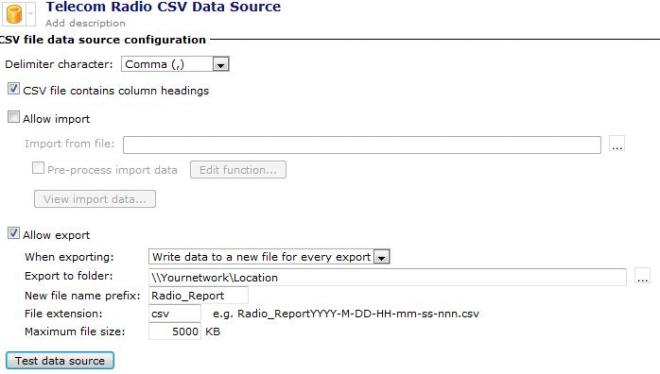
Notes: You have the option here to create a new file for each export, or overwrite the existing file every export. This will only work as a CSV, not an XLS or XLSX. The folder location can be any network location your service account has access to. Test the data source to make sure the access levels are correct.
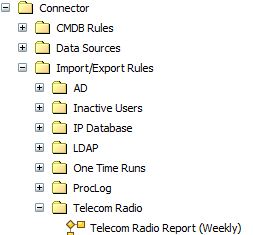
4. Once the data source is selected you need an Import\Export Rule to populate your new data source with information. Browse to the Import\Export Rules area and create a new Import\Export Rule:
5. Configure your new Import\Export rule to contain the data your customer wants to see:
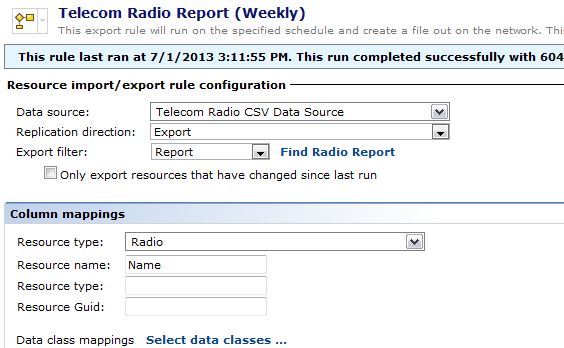
Notes: This section is where most of the work occurs. You will select the data source you just created in step 2 and 3. You will select Export for the Replication Direction, and then use an export filter of Report and select the report you want to generate your data from. Once this is complete, you will want to go through the data classes, and associated data classes, to select (and de-select) the data you want to see. You will also set the schedule on this screen. You can also run this rule manually to test the process, and to see if the formatting works for you or not. You can change the Data Class order, but you have to remove the data class and then re-add them to change the order.