The purpose of this article is to show how to properly configure File Share Encryption using Symantec Encryption Desktop (SED) and/or Symantec Encryption Management Server (SEMS). It is assumed that machines which will access the File Share Encryption belong to the same domain as the File Server where the Share is configured.
I. On standalone SED:
1. Install SED standalone on a server and client machines which requires the access to encrypted File Share
2. On server create a folder ("Share" in this example) and set proper NTFS/Share permissions to it (test if users can access it before encrypting)
3. On server, drag and drop the folder "Share" in File Share Encryption on SED interface and assign Administrator, or other super user who will have the "Admin" role in the group
4. Export the public keys of users and import them in SED on the server (go to PGP Keys, then select menu "File > Import" and select the *.asc file to import)
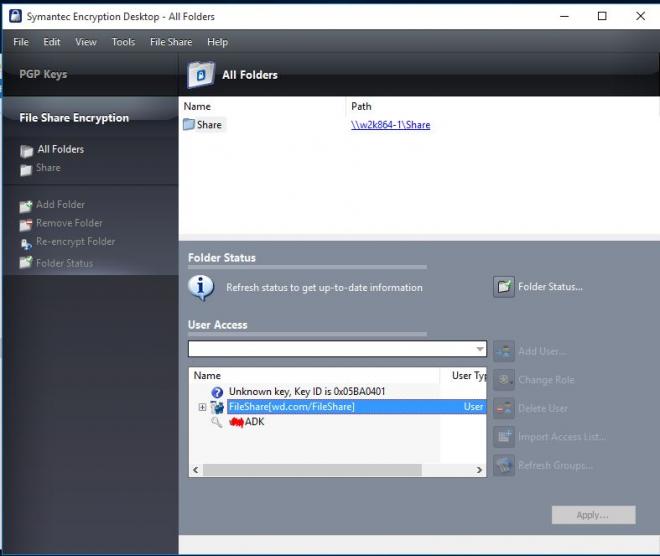
5. In SED select the File Share Encryption folder and click on "Add User".
6. Add imported keys of users and confirm with OK
7. Apply then the settings in SED. You will notice that users will have "User" role:

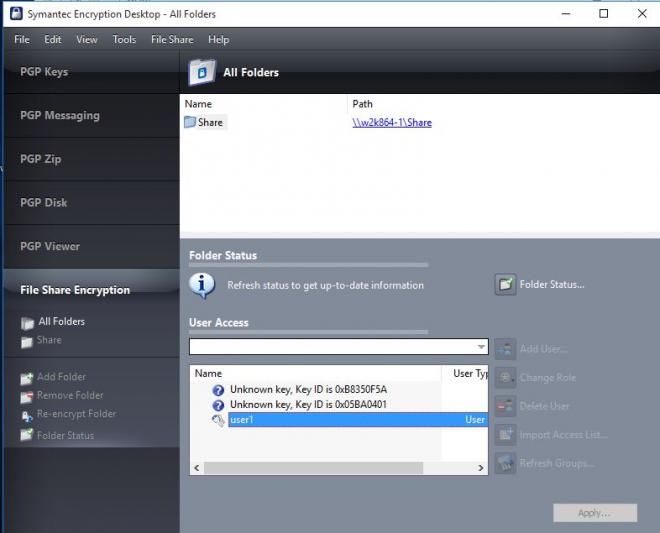
8. On each user's SED you will notice that you it can only see its own key. Other users will be listed as "Unknown Key".
On "user1" computer:
On "user2" computer:

II. On managed SED:
You will generate and add Group Key to the File Share Encryption, so you don't need to add many users' keys to the share. There are 2 methods of creating Group Keys:
Method 1:
1. Create a Security Group in Active Directory and add users to it
2. Generate AD Group Keys from Symantec Encryption Management Server (SEMS) > Keys > Generate AD Group Keys
3. Select the AD group created in step 1
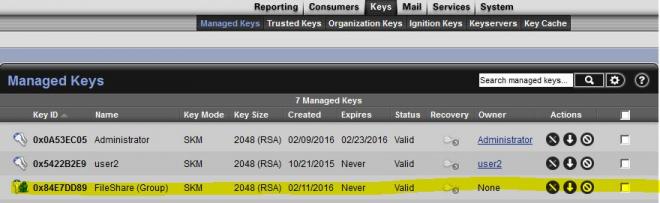
4. You will notice a new key in "Keys > Managed Keys":
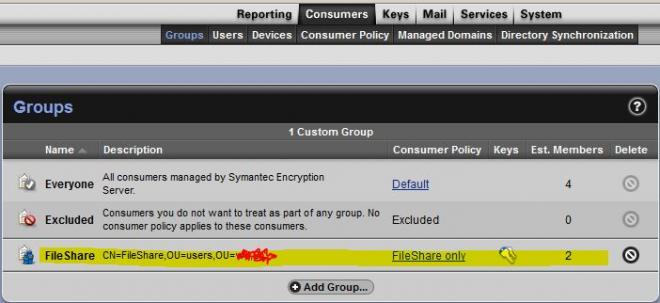
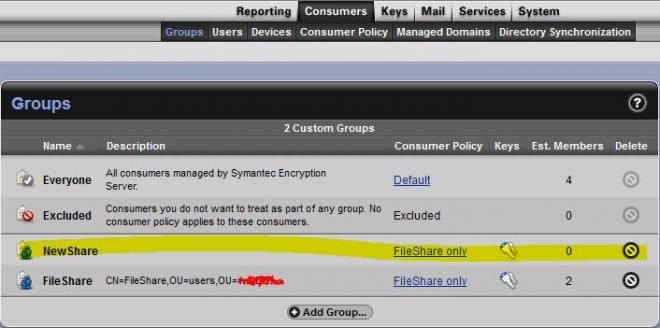
5. Check in "Consumers > Groups" - you will see new group created:
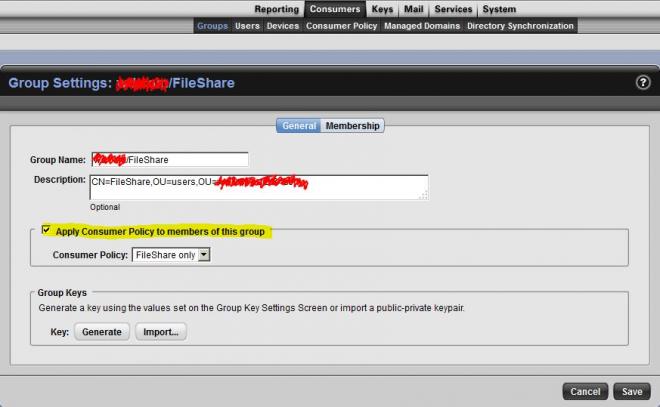
6. You can then modify the group settings to apply consumers policy to this group's members:
Method 2:
1. In "Consumers > Groups" click "Add Group" to create new group.
2. Enable "Apply Consumer Policy to members of this group" and assign proper Consumer Policy
3. Configure Membership if users will be synchronized from Active Directory. You can also add manually users to this group
4. Under Group Keys click on "Generate" button to generate the group and save:

5. Check in "Consumers > Groups" - you will see new group created:
Now, you need to create a File Share - similarly to what was done on Standalone installation (follow steps 1-3). This time installations will be managed. Then follow these steps:
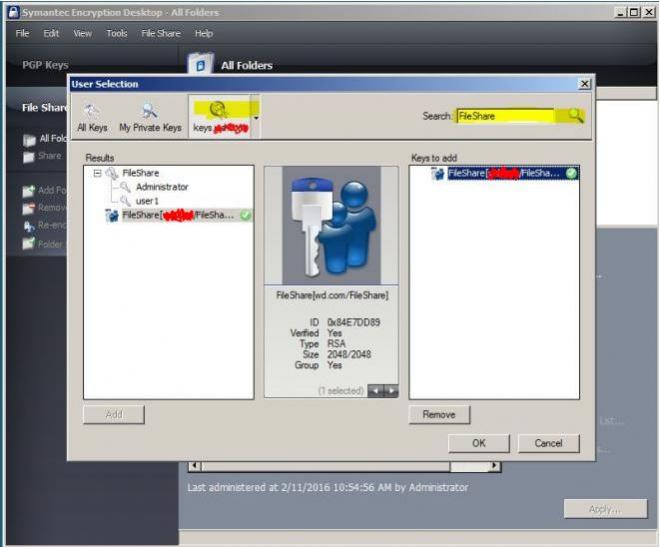
1. Select the File Share Encryption folder and click on "Add User".
2. On top menu select the SEMS server and in right-top corner write the group key name and then search. Add the key and confirm with OK:
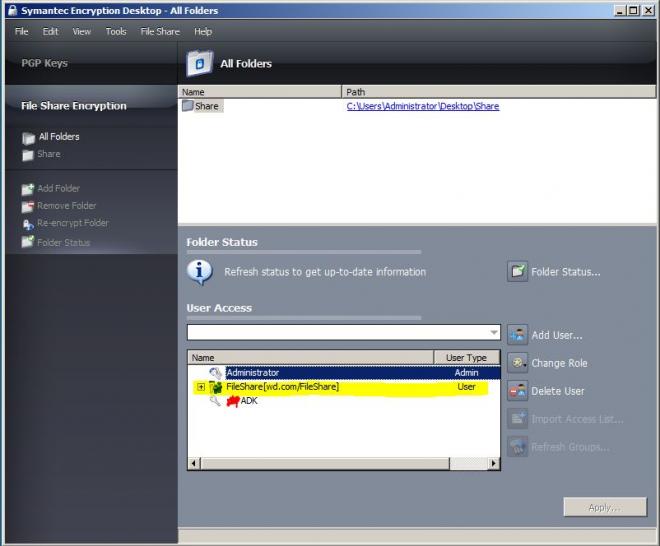
4. Apply then the settings in SED. You will notice the Group Key was added to the File Share Encryption folder with the "User" type. You might also see the ADK if that was created in SEMS before.
You will see this on Server:
And user's computer: