Hi everybody.
By default, Altiris doesn’t allow the administrators to deploy a Software Portal Custom Icon to the user’s desktops. We are obligated to use the default Altiris icon and default name and that’s it. So in this article shows the necessary steps to create a custom icon and how to deploy the icon to the company’s environment.

1 - Creating a Custom Software Portal Icon
Firstly, you have to capture the path of the Software Portal Icon.
Access the Settings page and enable the software portal policy (Software Portal Plug-in Policy) to show the icon in the desktop. (You don’t need to enable this policy to all computers with software plugin installed. Change the target to just one computer.)

Clone the default Software Portal Icon, open the icon properties and change the Icon’s name and image to what you desire.
Windows Icons: %SystemRoot%\system32\SHELL32.dll

After that, you can disable the Software Portal Plug-in Policy because your Software Portal Custom Icon is ready to be deployed to other computers.
**If won’t clone the default icon (easiest way), you can also create a new icon and set the information below in your new icon properties. The information below is totally necessary to the icon works and open the software portal page.
Right Click on Icon > Properties > Shortcut
Target: "C:\Windows\System32\rundll32.exe" "C:\Program Files\Altiris\Altiris Agent\Agents\Software Management Solution Plugin\SoftwareManagementSolution_Agent.dll",ShowSoftwarePortal
Start in: "C:\Program Files\Altiris\Altiris Agent\Agents\Software Management Solution Plugin"
2 - Creating the script to deploy the icon to the computers
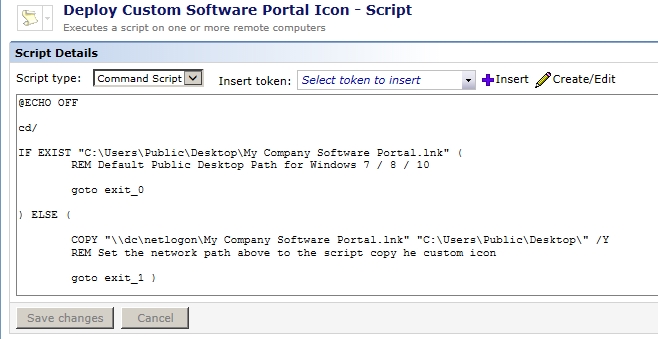
As we are using a custom icon, we have to create a process to distribute the icon to the computers’ desktop. To do that we can use a simple script which will check if the icon exists in the desktop. If the icon exists, the script will go to exit, else the script will copy the icon to the Public Desktop and the custom icon will appear to all users in that computer.

3 - Deploying the Custom Software Portal Icon to Computers (Simple Way)
**Deploying the customized icon (Advanced way) in another article very soon
First of all we have to create a new Script Task to attach in the software policy later. In Jobs and Tasks page, select to create a new task and choose the "Run Script" task. Inside the script task, choose "Command Script" in script type option and paste the code. (Code attached in this article)
Then go to Policies page and choose to create a New Policy. Click to add a task and select the task that was created before.

Choose your target.

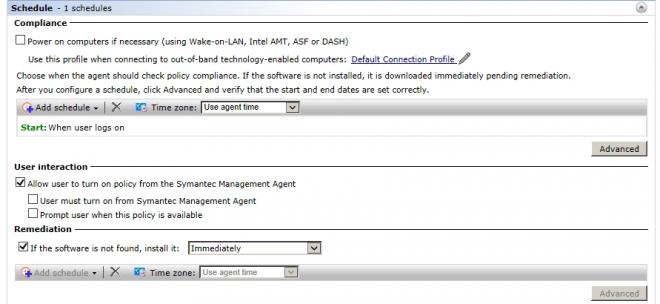
Finally configure the schedule. This option is up to you, but I suggest to use the option "At User Login" option. Choosing this option means that every user login the script will run and check if the Software Portal Custom Icon exists in user's desktop.
After all configurations done, just wait the altiris agent receive the new policy and the user login.

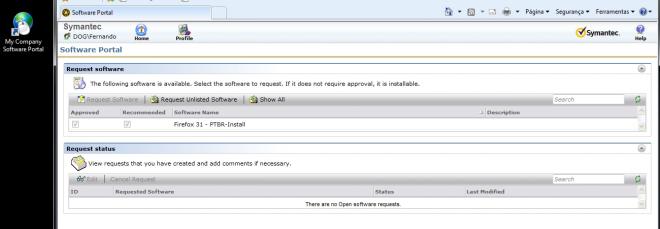
Login done, you will see you customized icon in the user's desktop.

And now you can use the new icon to access the Software Portal.
Regards,
Fernando Romano
https://br.linkedin.com/in/fernandoromano