Dear all,
This tutorial will give the overall ideal on how to install newly available Symantec Endpoint Protection 14 MP1 with embedded database.
So lets get started -
Step 1 - Download and extract the SEP 14 MP1 package and then run the setup.exe with an administrator

Step 2 - The installation will begin, hit Next

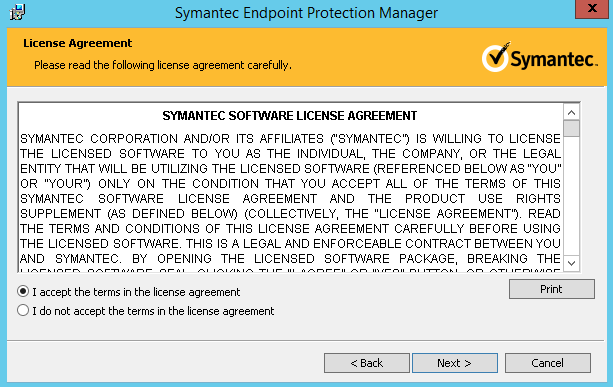
Step 3 - Accept the license agreement and click Next
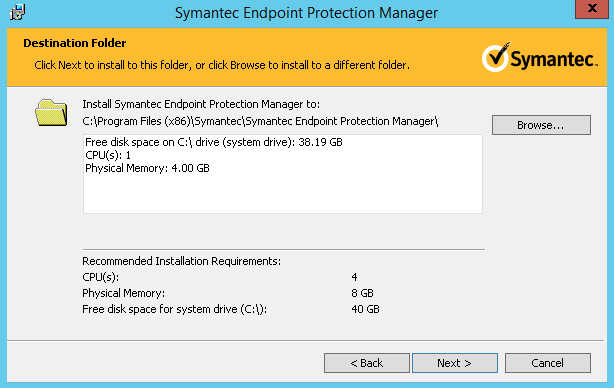
Step 4 - It will automatically select the below location for the SEP manager install (check if you have enough disk space available) OR change the
Install directory
Step 5 - The setup is now ready to install, click Next

Step 6 - The setup will now get installed and this will copy all the required files to said location

Step 7 - Setup is now installed and we now need to configure the management server, click Next

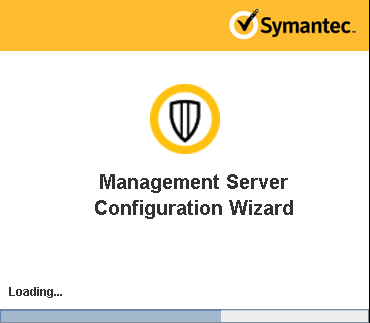
Step 8 - You will see the Management server configuration wizard splash screen
Step 9 -Select the appropriate configuration type.
Note : The default configuration is for the new installation which will consists of clients below 500
The custom configuration will let you select the customize options to configure like selecting the SQL database for managing the SEP clients and its database
In this case we are going for default configuration which will by default select embedded database.

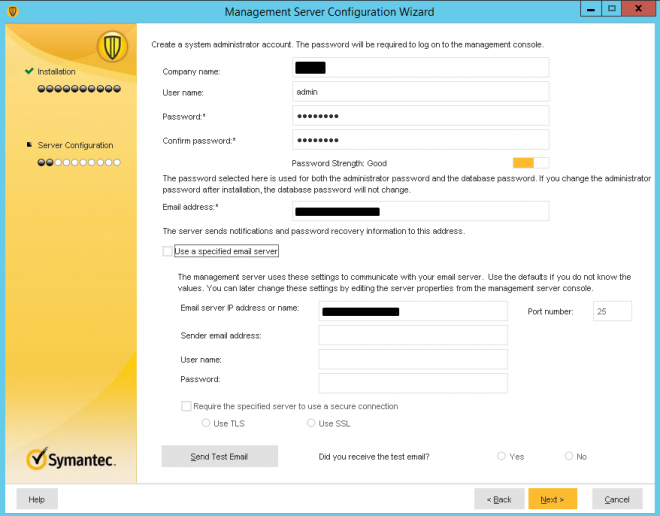
Step 10 - In this page, you need to fill the details like -
1. Company Name - Enter your company name
2. User name - This will be used as a username while login into SEPM console
3. Password - Enter the password, this will be used while authenticating the user in SEPM console login (you can change this password anytime from SEPM) and also as a database password
4. Confirm password - Enter the password same as above
5. Email address - Enter the email address of the administrator who might want to get password recovery emails and notifications from SEP manager
6. The emails will be send to registered email ID only if you add a email server into SEPM (contact your IT team for the same)
Rest is self explanatory.
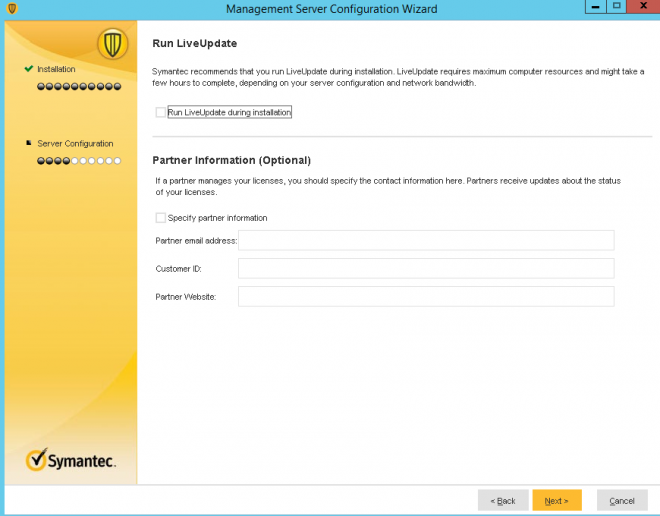
Step 11 - Uncheck the Live update installation as it will take several hours to download and install the definitions (you can download it later)
partner information is optional, you can fill that if you feel necessary and hit Next
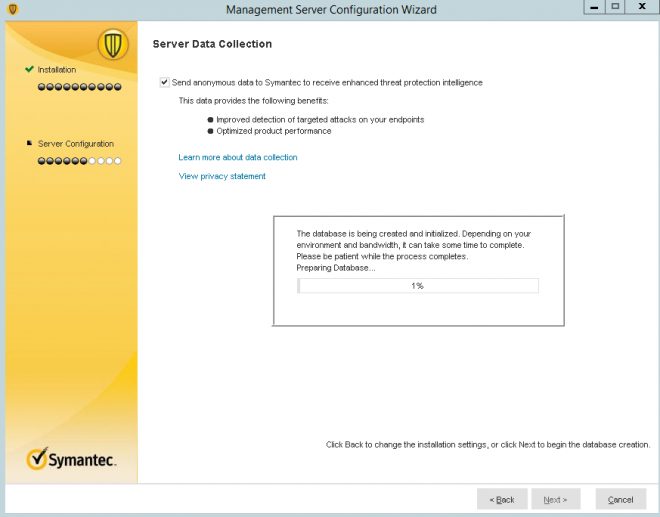
Step 12 - The database will get created in the specified location, as this will take lot of time so be calm and let it happen.
If there's an issue it will definitely throw an error that you use to troubleshoot further.
Step 13 - After the database builds, the configuration is also completes. Hit Finish to launch the SEP manager.

Step 14 - After you login to SEPM using username and password, your SEPM now installed and you can now install SEP client on your systems.

Thanks,
nThakare :)